Showing posts with label tutorial. Show all posts

Monday, June 23, 2014

Welcome - Altered Tile

Welcome back! Today I have another wonderful project using Unique Laser Designs wood embellishments. Lots of color and texture come together to create a unique home decor project. For this project, I used a 6x6 stone tile as my based.


To start, I painted the entire surface of the stone with a tinted glaze. Once the glaze was dry, I added different colors of ink to give a marbled effect.


Next, I used a stencil and modeling paste to add a layer of texture to the tile.  While the paste was still wet, I sprinkled it with glitter.  Every project must have a bit of sparkle.


Once the modeling paste is dry, I added some ink to give the tile more color.


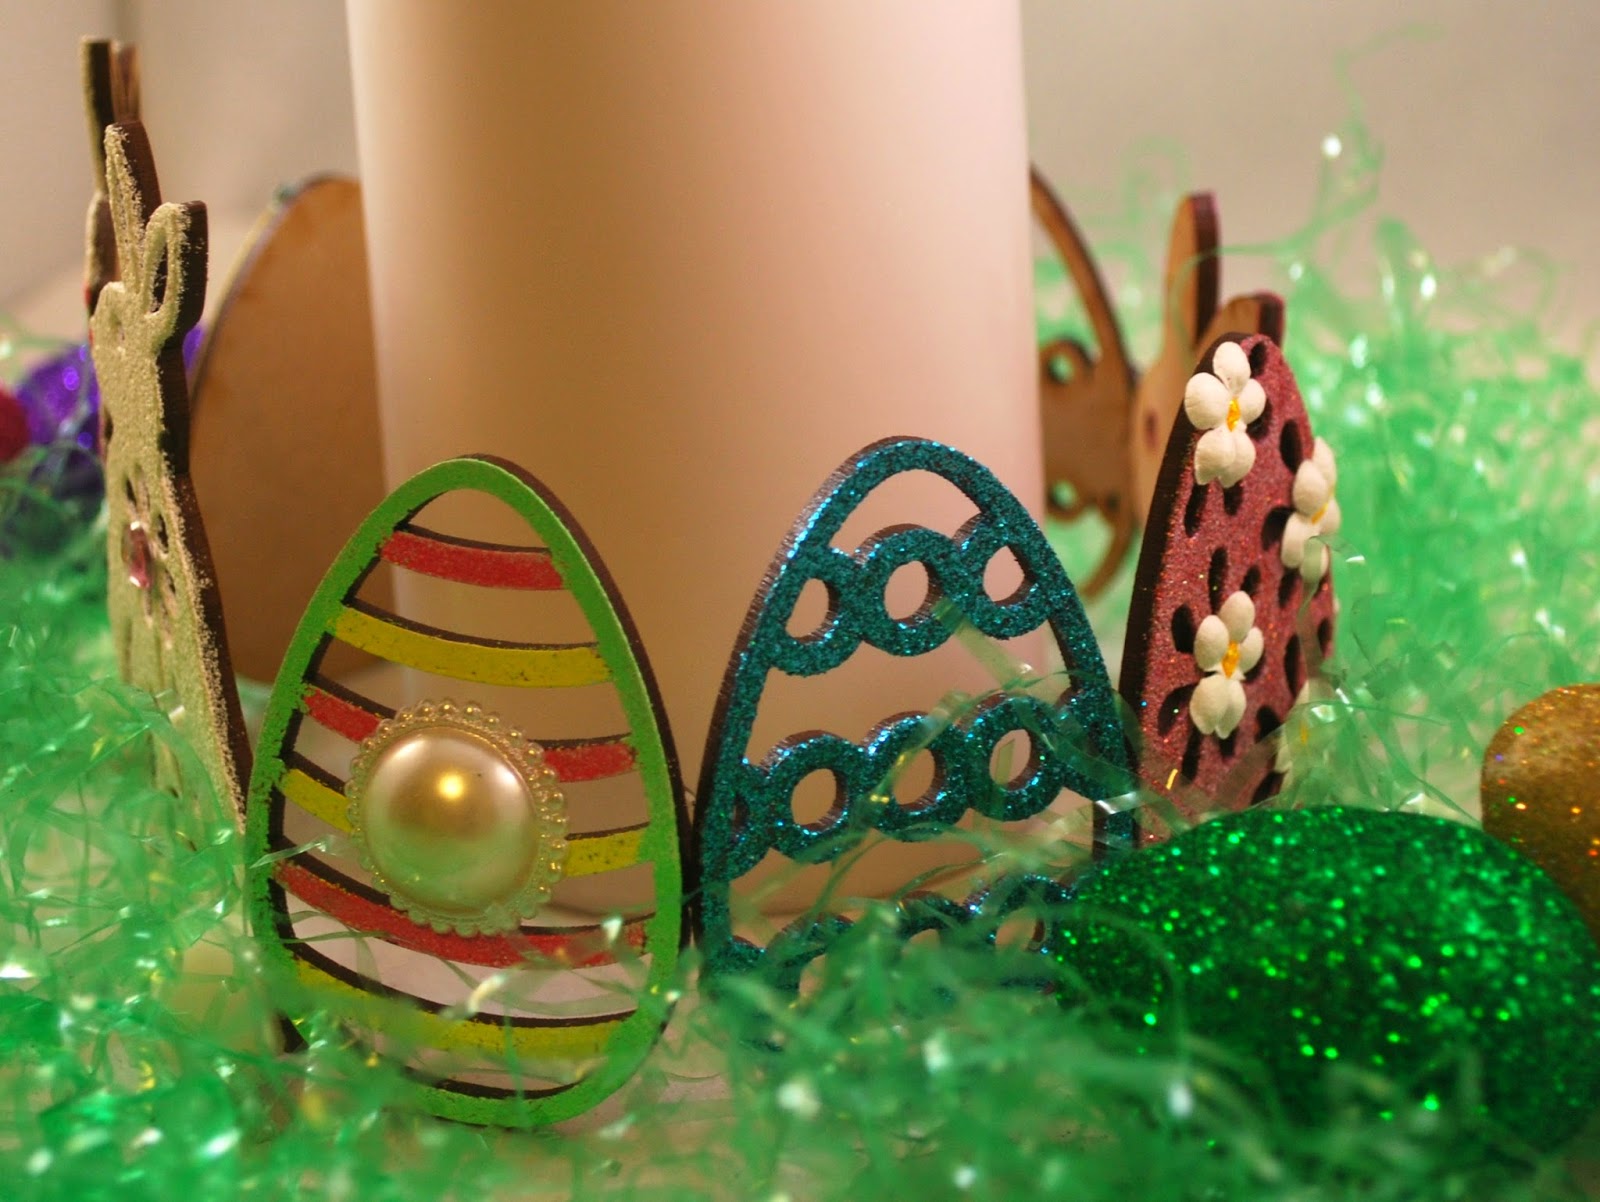
Now on to the embellishments.  I used a mixture of alcohol inks, Stickles, and dimensional paint to add color to my ULD embellishments.


Now it's just a matter of pulling everything together.  I added a couple strips of washi tape to the bottom, adhered all of the wood embellishments, then layered on the flowers.


A wonderfully simply project with striking effect. Now I have something to display in my home to welcome guests.

Monday, May 5, 2014

Ladybug Napkin Rings

Ready for another fun project using Unique Laser Designs wood embellishments? Well today I have a fun summery themed project perfect for that outdoor picnic - ladybug napkin rings! Ready to get started?


First I painted the napkin rings with two coats of white acrylic paint, letting them dry fully in between coats.


Next, I add a a bit of washi tape to add an easy pop of color.


For another pop of color, I used a red marker to color the ends of the napkin rings.


Using shimmer mists, I added lots of bright color to some flowers.


Now, on to the super cute ladybugs! I simply used a red and black marker to color the wood, then added some googly eyes.

Lastly, I simply layered the flowers, added the ladybugs on top, then adhered the flowers to the napkin rings.

These guys are absolutely adorable, and super quick to make too! How cute would your picnic table look with one of these at each place setting?


Thursday, May 1, 2014

Mother's Day Wall Hanging

It's the beginning of another month, which means it's time for a new challenge at Scrap It Girl. And this month it's all about Mom and her special day.  So today I have a wonderful little project to celebrate Mother's Day.


I found these mini canvases at the craft store a couple weeks ago for a whopping price of buy one get two free.  Couldn't pass that one up! So I started by simply painting all three canvases with acrylic craft paint.


While I was waiting on the paint to dry, I used my die-cutting machine to cut out three pieces of patterned paper, then inked the edges of all of them with Distress Ink.


Once the paint on the canvases was fully dry, I simply adhered the patterned paper.  Next I added a bit of bakers twine and some letters I've had in my stash for what seems like forever.


Next up, I took my Unique Laser Designs hearts and butterflies and gave them a good coat of Perfect Pearls.


Then I simply layered everything onto the canvases, along with a few flowers.


Then, to attach the canvases to each other, I added several cup hooks.


Lastly, I added a small piece of ribbon so the piece could be hung. What Mom wouldn't appreciate a beautiful handmade item on their special day?


Monday, April 28, 2014

Smile Necklace Holder

Welcome back! Are you read for a beautiful home decor project using Unique Laser Designs products? Well today I have a project using a simple canvas and turned it into a piece that anyone would be proud to display in their home.  This could be used to hold bracelets and necklaces, or keys, or any other lightweight item you can think of.  So let's get going and I'll show you how it was made.


The canvas I used was 8x8 in size and 3in deep.  Simply paint the edges and partway onto the top of the canvas.  I gave it two coats of paint.  


Once the paint is completely dry, adhere your selected patterned paper.


Using a dry brush technique, add more paint around the edges of the patterned paper.  Set aside to let the paint dry.


To add a bit of texture to the background, I adhered some white ribbon.  Since the ribbon is really wide, I simply cut strips through the ribbon to have varying widths.


Now on to the embellishments.  I chose three dress forms, two of which were inked with Distress Ink and the last was heat embossed.


On the two dress forms that were inked, I also added a thin layer of Glass Bead Gel Medium.  Don't worry that it looks milky right now.  Once the gel medium dries, all you will see is clear mini beads which add a wonderful texture.


Now to start putting everything together.  Once the gel medium was dry, I arranged the three dress forms together then added in a few flowers. I also added in a bird, which I left bare except for a spritz of shimmer spray.  Lastly, I added in the sentiment, which I also left bare.  I thought the bare wood was a good color considering all the other bright colors on the canvas.


The last thing to do now is just to screw in seven cup hooks across the bottom of the canvas.


The hardest thing for me now is to figure out if I wan to keep this all for myself or give it as a gift. What do you think?

Monday, April 14, 2014

Easter Candle Ring

I am super excited to bring you my first project as an official member of the Unique Laser Designs Design Team. And boy oh boy do I have a fun project for you.  How about an adorable candle ring with lots of bunnies and Easter eggs.

So let's get moving, and I'll show you how it was made.


I went through my stash of embossing powders and pulled out all the fun spring colors.  All but one piece on this candle ring was heat embossed.


For this egg,I embossed the entire egg in a pastel purple, the added a layer of embossing glitter around the edges.

As you can see, I love to add glitter and bling to my projects.  It's a rare day that I make a project that doesn't have shine and shimmer on it somewhere. :)


The rabbits were also embossed.  For these guys, I added several layers of embossing since I wanted a bit more texture.


To finish the rabbits, I added a bit of Smooch ink to the nose, a crystal to the center of the flower, then a pom-pom to make a super cute fuzzy tail.


This is the one piece that is not embossed.  I simply inked up this adorable bunny with spray ink, then with a layer of shimmery ink.


Now it's time to start adding on the finishing pieces.  Each egg was decorated differently, some with flowers, some with crystals, some with buttons.


As for the bunny, I simply adhered a small butterfly. Then, it's simply a matter of attaching the pieces together.  I used a hot glue gun and simply attached all the pieces together in a ring shape.


How cute is this? A perfect way to create a centerpiece for your table.


One word on safety...the pieces are made of wood which are highly flammable.  If you are using a candle with a flame, be sure to remove the candle ring while burning the candle.


If you're using a flameless candle, then there's really no need to remove the ring while the candle is lit.


Monday, April 7, 2014

Easter Eggs

Easter is just around the corner, so I thought I'd get a heard start on creating some decorations.  So today I have three eggs, each decorated in a style.  So let's jump right on in and see how these wonderful eggs were created.


I started with a wooden egg and painted it entirely with my Iris Zig Painty pen. Once the egg is painted, set it aside to dry.


 Once the paint is thoroughly dry, apply a design adhesive to the egg.  For this egg, I chose a flower design.


 Next, I simply covered the design adhesive with multiple colors of glitter.


Simply repeat the process of applying the design adhesive and covering it with glitter until the entire egg is decorated.

For the second egg, I started with painting it with my Silver Zig Painty Pen.  Paint the entire egg in silver, then set aside to dry.

While the egg is drying, I took a butterfly die-cut and inked it with a Zig Glitter Orange Wink of Stella Brush Pen.  While the ink was still wet, I added in a bit of red glitter for contrast.


Once the paint was dry on the egg, I wrapped it a bit of baker's twine, added a large butterfly, the smaller yellow butterfly, and some mini letters for a sentiment.


And for the last egg, I colored it entirely with a Zig Glitter Orange Wink of Stella Brush Pen.


Once the ink has dried, I used a Black Zig Painty FX pen to create polka dots over the entire egg. Set the egg aside for a few minutes to let the paint dry.


Once the paint is dry, I added a couple of strips cut from the edge of punchinella, some crystals, and a bit of pom-pom trim.


Three uniquely different Easter egg designs, but each with a fun and festive flair.


So what are you making for Easter this year?
Related Posts with Thumbnails