Friday, November 29, 2013

Snow Business Card

We're getting closer and closer to the big day, so of course I have another Christmas project, a card this time. So let's jump right on in, and I'll show you how it was made.

I started with a Kraft cardstock card, 4in x 9in in size.  Using the 2mm tip of my Zig Fabricolor pen in Cobalt Blue, I created a simple doodle around the edge.  Even though this pen is made for use on fabric, it works perfectly on paper too.  I chose this pen because the color was a perfect match to the baker's twine I had chosen.


Next, I punched around the edge of a piece of white cardstock cut to 3 1/2 in x 8 1/2 in.  Set aside several of the punched snowflakes for use later.  Then I used the brush tip of the same pen to ink the edge of the whit cardstock. The adhere the white cardstock to the kraft cardstock base.


Using the brush tip of the same pen, I inked and stamped my sentiment and several snowflakes.


Next, I adhered several of the punched snowflakes using my Zig 2 Way Glue pen.  I also added a piece of baker's twine around the card.


Lastly, I drew over each of the snowflakes with my Zig Wink of Stella pen in Glitter Clear.  I can't tell you how much I love this pen.  Such an each way to add a bit of glimmer.


A simple yet adorable card.  Now, the only question is who do I give it to?


Thursday, November 21, 2013

Embossed Candle Holder

Are you getting ready for the hustle and bustle of the holiday season? If you're anything like me, you're just itching to put up the Christmas tree and decorations.  However, I'm making myself hold out until after Thanksgiving.  Wouldn't want to overlook turkey day :)

Since I'm in a Christmas mood though, I thought I'd make a quick project.  And by quick, I mean less than five minutes!  Perfect for a last minute gift or decoration.  How cute would a set of these be as a hostess gift for a party? Or how about for that one person you forgot to buy a gift?

So let me show you how it was made.


Start by gathering your supplies.  You'll need a clean glass tea light candle holder, stamps of your choice, a Zig Emboss Writer, a heat tool, embossing powder, corn starch, and tweezers.  

Because the glass holds static very well, I dusted the glass with a thin layer of corn starch to keep the embossing powder from sticking in places I didn't want it. 


Next, I simply inked my stamp with my Zig Emboss pen, stamped my image on the glass, covered it with embossing powder, then heated the powder until it was melted.  I used three different sized snowflake stamps and randomly stamped them around the glass.  Repeat the stamping and embossing until you like the look of the glass.

I previously mentioned you would need tweezers. Glass holds heat for a long time.  I used the tweezers to hold the glass still so I could stamp and heat emboss the images.  No burned fingertips.  And don't ask how I figured this out, because if you did I'd tell you it was the hard way.


As you can see, the finished project is simply adorable.  I plan to make several more and use them as a runner down the center of my dining room table.  Just think how it will look at night with all the candles lit.

Monday, October 28, 2013

Halloween Ornament

Just a few more days until the fun spooktacular night that's filled with goblins, ghouls, and all sorts of creatures. Which leaves just enough time for one last project. And for this project I have an ornament, perfect for that last bit of decorating. So let's get going on how it was made.


I started with a small piece of glossy cardstock that was cut to fit between two pieces of glass.  I simply inked the cardstock with Orange Kurecolor Ink.  To create the splotches on the cardstock, I just flicked it with a couple drops of alcohol.


Next, using my Zig Writer in Black, I stamped a skeleton and sentiment.


Once the ink is completely dry, place one piece of glass under the cardstock, one piece of glass on top of the cardstock, and then wrap the edges of your "sandwich" with foil tape.


To take away the shine of the foil tape, I used my Zig Painty FX pen in Black.  I just randomly painted the edges as I didn't want to fully cover the tape.


Next, I painted a metal frame with my Black Zig Painty FX pen. Again, I wanted a thin coat of paint so the metal would slightly show through.


Once the paint was dry on the frame, I mounted the glass piece on top. Then I found a bauble in my stash that I inked with Orange Kurecolor Ink and attached to the metal frame.  To hide the jump rings I used to attach the bauble, I added a die cut bat.


Lastly, I added a strip of ribbon so the ornament could be hung.


 As an added note for all those attending parties and Trick or Treating, please be safe out there.


Thursday, October 3, 2013

Halloween Table Decoration

Fall...cooler weather, shorter days, and Halloween. That one ghoulish day when we can all pretend to be any character we want.  And let's not forget about the fun parties.  So I created a fun table decoration just for a Halloween party.  So let's get started with how I made  this project.


To start, I added a few glass beads to a Ziploc bag, then added in a few drop of Orange Kurecolor Ink. Then just shake the bag until all the beads are coated in ink.


Then, I simply dumped the beads out on my craft sheet to dry, which only takes a minute.


Next, I used a Zig Painty FX pen in Black to paint the rim and bottom of a glass.  I used a small piece of decorative tape to mask off the stem of the glass, this way I had a clean paint line.  Once the paint was dry, I simply removed the tape.


To add a bit of contrast, I used a Zig Painty pen in Iris.


Now on to the medallions.  I used my die cutting machine and steel die to make three medallions.  I used my Zig Writer in Arctic White to add a bit of detail around the edges.  Then, I used my Zig Writer in Black to outline the center portions.


Now to put it all together.  Start by adding the beads into the glass.  Next I die cut a couple of bats and used my Zig 2 Way Glue pen to adhere them to the glass.


 One medallion I stamped a short sentiment in the center and then simply laid at the bottom of the glass.


Next, I added straight pins to the back of two medallions. One of them I simply laid across the glass.  The next I stood up in the beads and also added a bit of ribbon.


A fun project to create, and how cute would this be sitting amongst your other Halloween decorations?

Monday, September 23, 2013

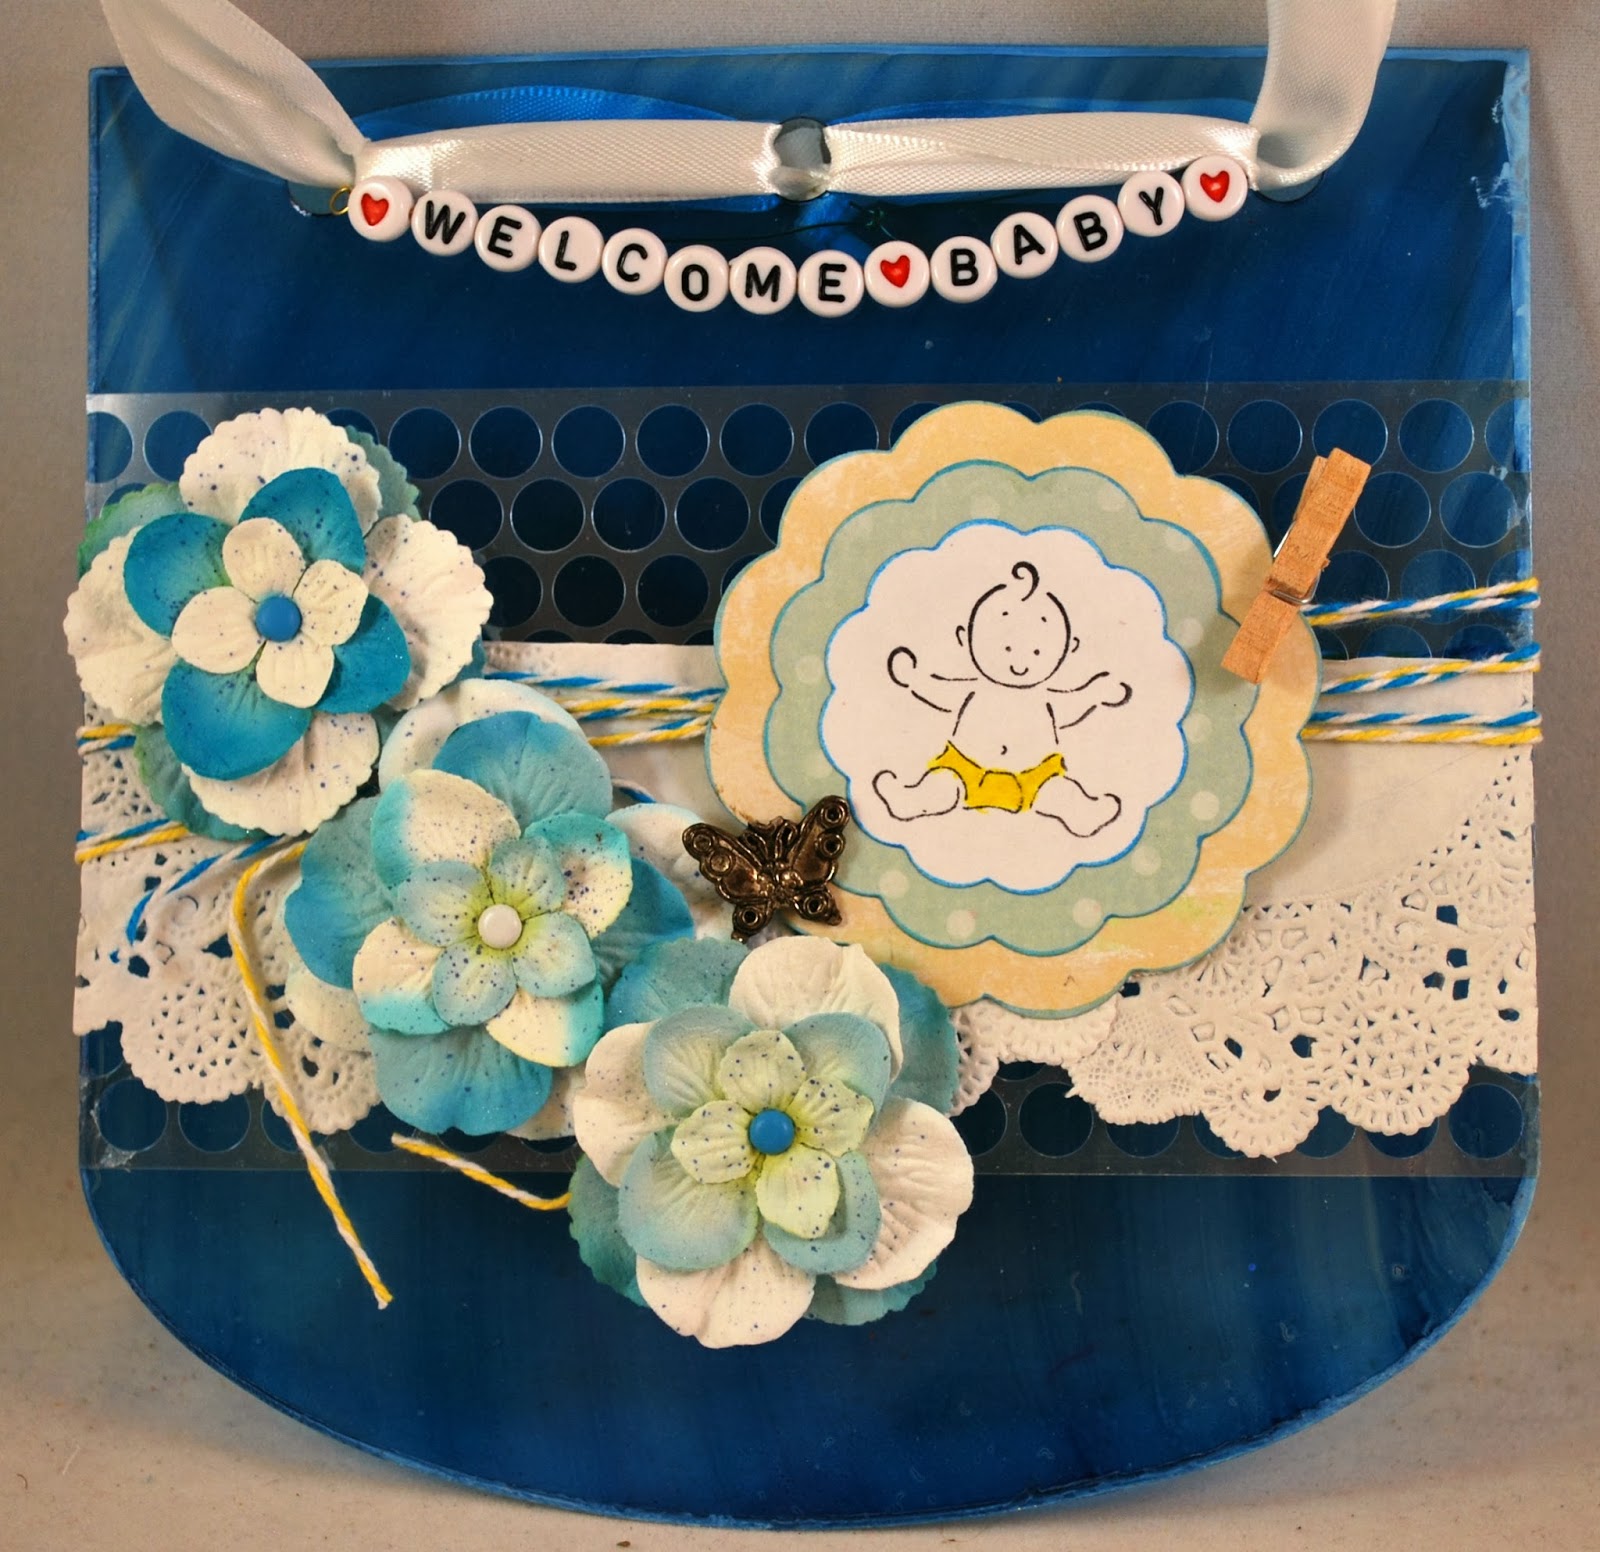
Baby Boy Wall Hanging

Welcome back!  I sat down a few days ago to make something for a friends upcoming baby shower.  And wouldn't you know it, a case of scrapper's block.  Happens to the best of us, right?  Took me quite a bit longer than I expected, but I think the end product turned out just fine.


So let's get started on how this adorable wall hanging was created.  I started with a piece of acrylic which I colored with Kurecolor Ink in Dull Blue.


Next, I outlined the edges of the acrylic with a Painty FX pen in white.  Set the acrylic page aside for a couple minutes at this point to let the paint dry.


Next up, I created some background texture.  I added a piece of Punchinella, some doilies, baker's twine, and letter beads. Easy peasy so far, right?


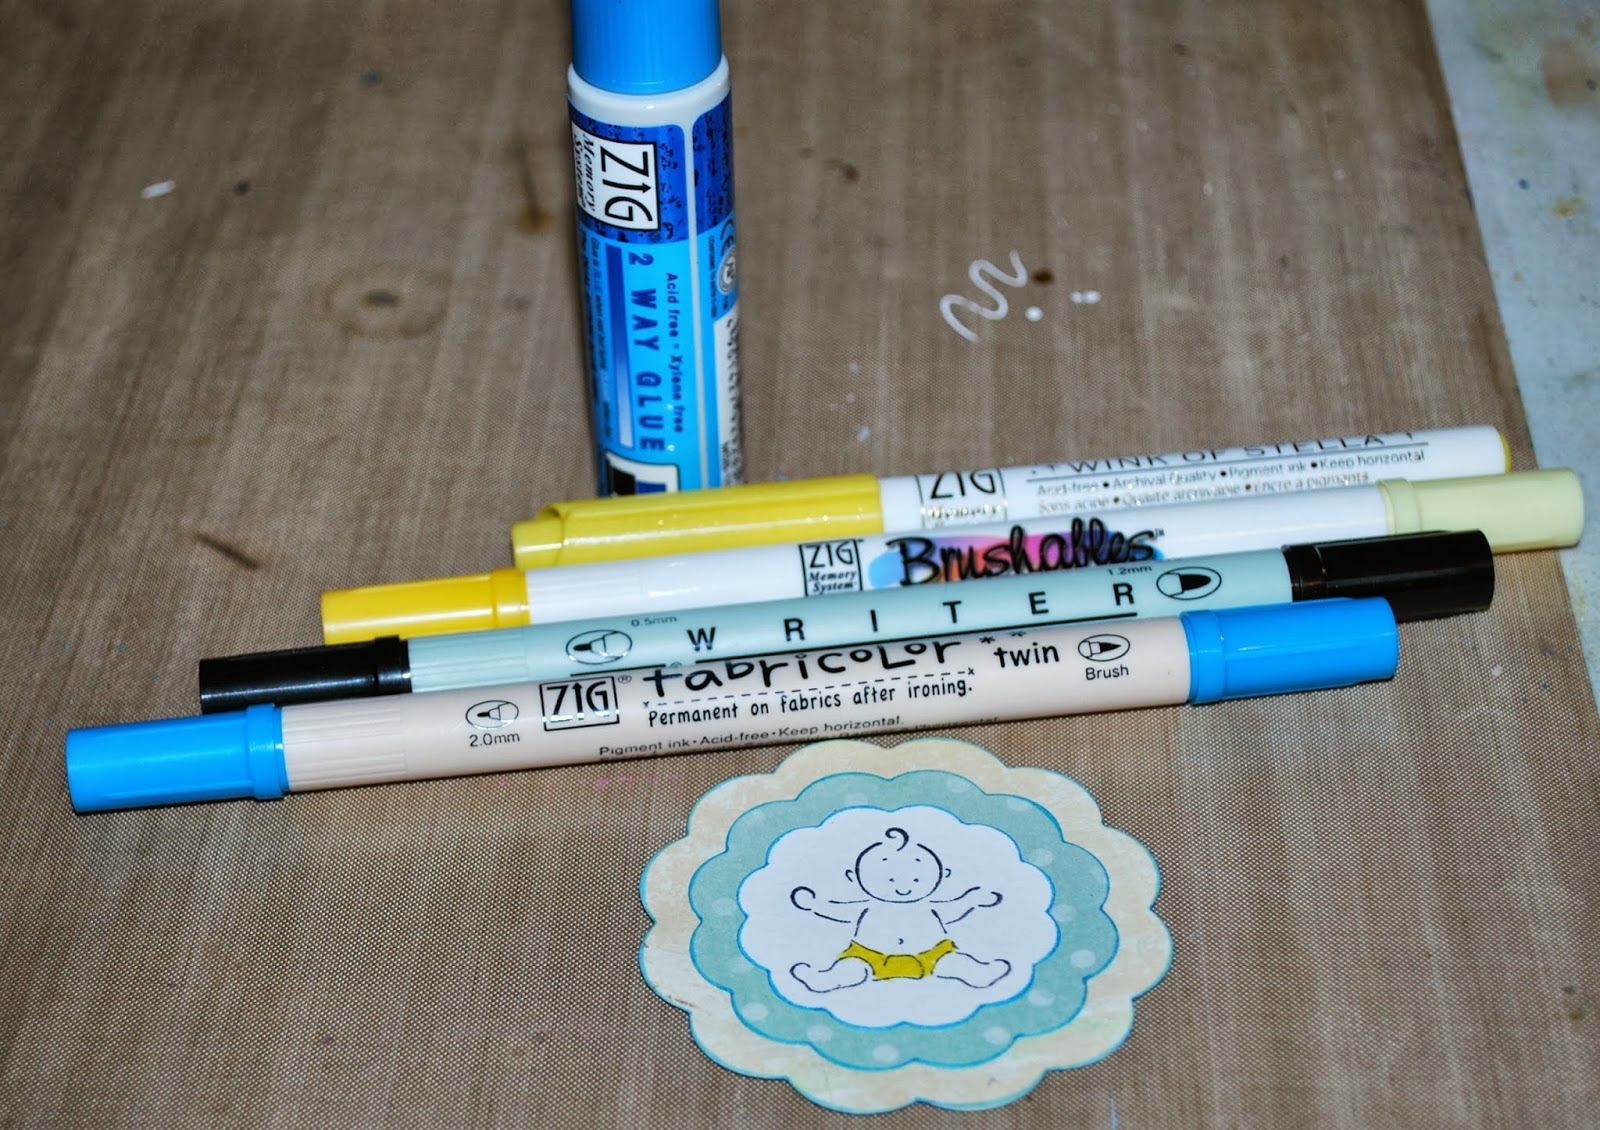
Then I simply stamped a baby image on white cardstock and colored the diaper with my Zig Brushables pen in Pure Yellow.  Then, to add just a bit of glimmer, I went over the yellow with a Wink of Stella pen in Glitter Yellow. I outlined the edges of the cardstock with a Fabricolor pen in Cobalt Blue. Then I adhered the layers of cardstock and patterned paper together using my Zig 2 Way Glue pen.


Now, it's just a matter of adding the finishing touches. I attached the stamped piece using a mini clothes pin.  Lastly, I added some flowers, a butterfly charm, and some ribbon so the piece can be hung.


So now you have an adorable addition to a baby shower gift.

Supplies:
Acrylic: Basically Bare
Flowers: Prima
Punchinella: Gauche Alchemy
Inks and pens: Kuretake

Monday, August 26, 2013

Altered Tile

Hard to believe it's been two months since I've posted anything.  Let's just say that life has been super crazy lately.  A few highlights - in June I decided that the best thing for my health was to slice off the tip of my right pinky finger while cooking dinner.  No worries thought, the finger is fully functional and still healing, just a bit lopsided.  July I took a well need vacation to the beach with my family. And August has just been busy with work and life.  Anyway....on to a fun project.  I really had a lot of fun with this one.

Several months ago, I bought several stone tiles with the intent of altering them.  The inspiration for the alterations was just never there.  Well, I sat down this past weekend, pulled out my Zig Painty pens, and went to town.  Love, love, love how this turned out.  So lets's get started on how I pulled this one together.


First, I used four different colors of Zig Painty FX pens - Lt Blue, Yellow, Green, and Pink.  


I simply added and layered each color until I was happy.  A note when painting stone tile - it it very porous and will quickly soak up the paint.  There is hardly any time at all to move and blend the colors, so work quickly.


Next, I added a very thin layer of white using a White Painy FX pen to tone down the bright colors. Then I added a few highlights with a Pink Painty FX pen.


Once the paint has fully dried, I used a Zig Writer in Pure Black to draw a flower and add a few highlights.  If you're anything like me and usually not happy with the first thing you draw, you can use a pencil and lightly draw your image first, then go over it with the marker.  This way, if there are any mistakes, it can be erased before its drawn in with permanent ink.


For the next step, I added a bit of detail using a Zig Opaque Writer in Arctic White.  I simply doodled a scalloped line around the edges of the flower.


For the last bit of detail, I used a Zig Fabricolor pen in Gold.  I simply added a few dots to the center of the flower.


for the next step, I set the tile aside and grabbed a chipboard butterfly.  I colored it entirely using a gold Fabricolor pen, the added a few details using a Writer in Black.


Now, it's just a matter of adding the finishing touches.  I added a Petaloo flower in the corner, added the butterfly, and added a few Ranger sentiment stickers.


This really could not have been any easier to put together.  All I used was eight different pens, a tile, and a couple of embellishments. Now I have a wonderful display piece for my home, or maybe even a gift for a friend.

Monday, June 17, 2013

Fun in Savannah

Welcome back!  Today I have a few projects from the November issue of Scrapbook News and Review Magazine.  


Both of the layouts feature pictures from a trip to Tybee Island and Savannah from last September.  It really is one of my favorite places to visit.


The first layout is a really quick and simple page.  A bit of May Arts ribbon, a few chipboard embellishments, and voila…instant layout!  The second layout is almost just as simple.  I started with my background, flicked on a bit of ink for a splotchy effect, added a few die-cuts, a bit of fabric, a few chipboard stars covered with Perfect Pearls…again fairly quick and easy.


Last up is an adorable card set.  Butterflies are one of my favorite embellishments to use, and this set is no exception.  I simply punched out a bunch of butterflies, layered them, added a bit of Stickles, and then added them to the cards, along with a bit of May Arts ribbon and a stamped sentiment.

Monday, June 10, 2013

Cards Galore!

Today I have another set of super fun cards to share, all of which were featured in the November issue of Scrapbook News and Review Magazine.


This first card I had a lot of fun creating.  I used my Spellbinders die to cut out the middle portion from my patterned paper.  Then I added a a piece of transparency into the space that was cut out.  Next, I stamped the sentiment on the transparency, layered on a few flowers, a chipboard butterfly, and a piece of lace.  I love the look of being able to see straight into the card.


My second card would be perfect for a wedding or bridal shower.  I simply layered on my patterned papers, added a crystal flourish, and a few dimensional flowers. Super quick and simple.


Lastly is a fun, colorful card.  I started with my background paper, layered on a few die-cut papers on top, then finished the card with a stamped image from Queen Kat Designs which was colored with Zig markers. The last finishing touches on this card is a bit of glitter around the die-cut and a bit of ribbon.

Monday, June 3, 2013

Celebrating Your Graduation

It's that time of year again when thousands of teenagers and young adults will be graduating high school or college and starting a new chapter in their lives.  So what better way to help celebrate the momentous occasion than with a fun card?  


To start, lets gather the supplies we'll need to make this card.  You'll need cardstock, patterned paper, your selected stamps, and the following Zig pens: Art & Graphic Twins, Writer, 2 Way Glue, and a Medium tip Waterbrush.

I used the Waterbrush and the Art &Graphic Twin markers to color the balloons and hedgehog.  I simply touched the end of the Waterbrush to the brush tip of the Art & Graphic Twin markers to pick up the ink, the simply layered the ink onto the stamped image. I then used the fine tip of the brown Art & Graphic Twin marker to create the highlights on the hedgehog.

Then I used my 2 Way Glue Fine Ball Point pen to fill in the hearts on the balloons. I then covered the glue with glitter and set the piece aside to dry.


While the glue was drying, I started on the background of the card. Just a few simply layers of patterned paper with the edges distressed.


Next, I stamped my sentiment with a Black Zig Writer.


How cute is this finished card?!  And did you notice the tiny diploma in its hand?  I just used a scrap piece of  paper, rolled it up, and tied it with a piece of thread.


Congratulations to all of the this years graduates!
Related Posts with Thumbnails