As we're gearing up for Easter, I thoughts I'd share with you a simple and fun decoration piece that you can make. How cute would this look as a table centerpiece or on a mantle? So let's jump right on in and let's see how this was created.

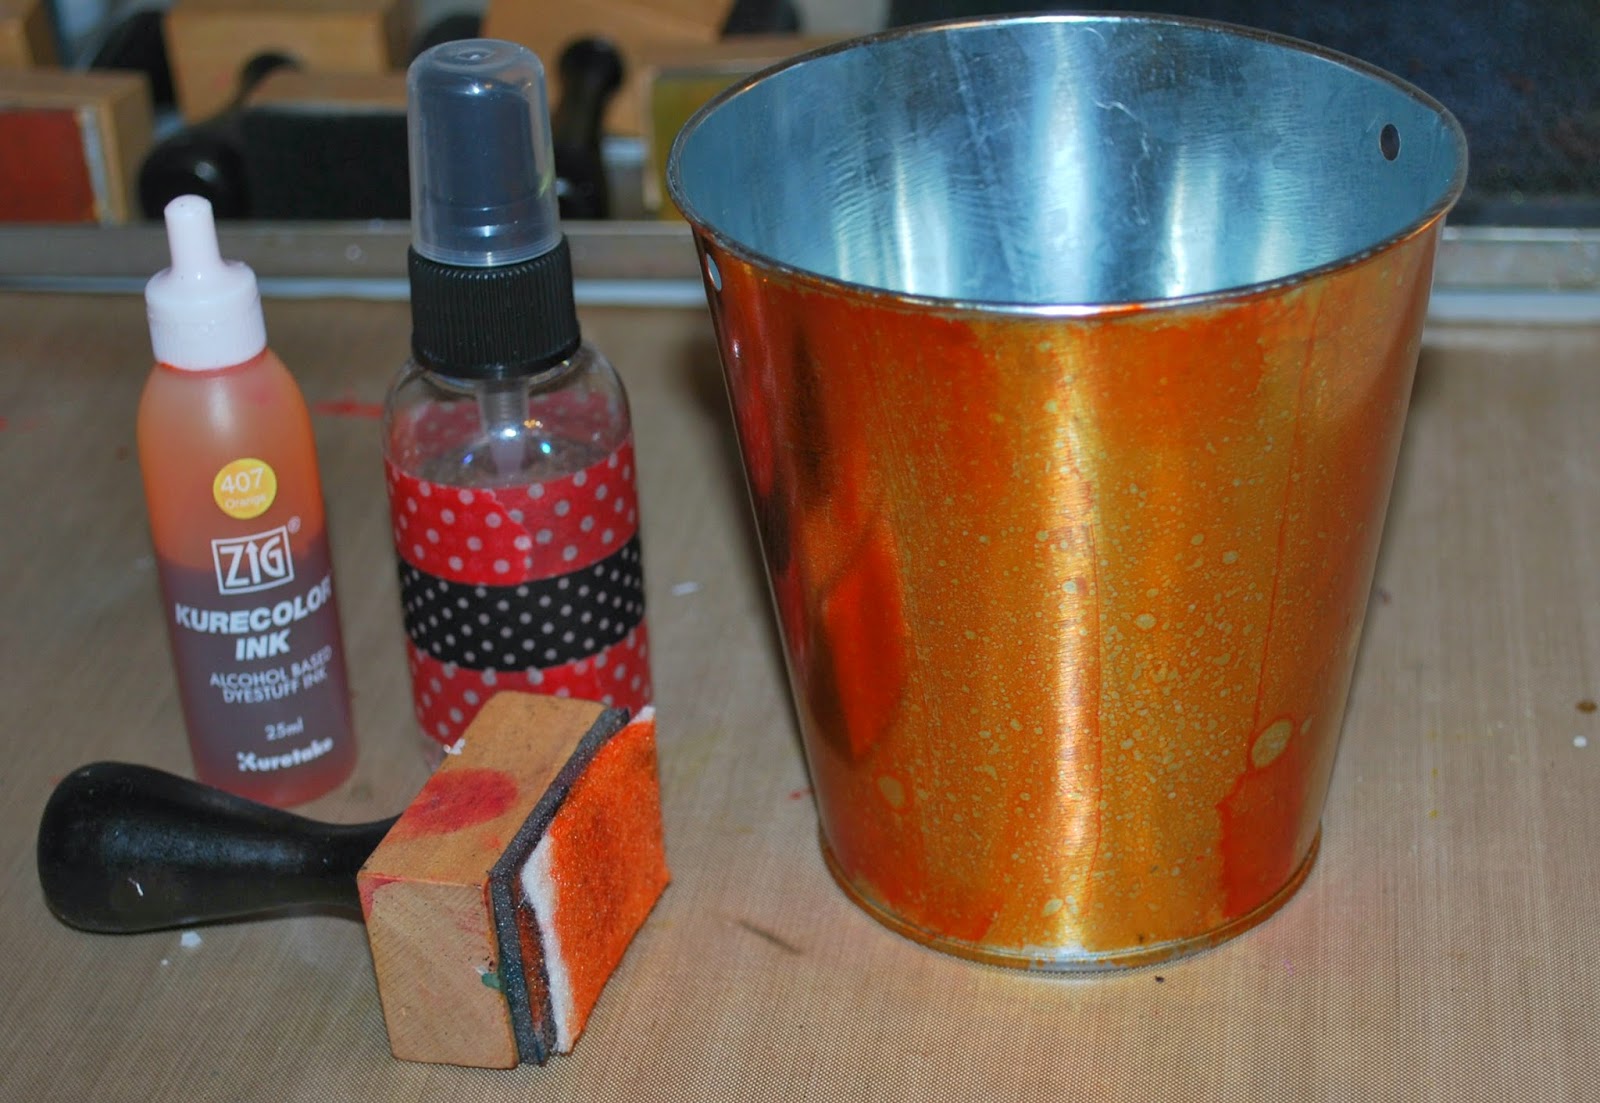
I found this cute little metal tin a few weeks ago and knew it had to come home with me. And I found the perfect use for with this Easter project. I used my Orange Kurecolor Ink to color the entire tin, then gave it a light spritz with regular household alcohol to give it a spotted effect.
Next up, I adhered a cute trim around the upper edge of the tin.

Now, you all know that I will add glitter to anything that doesn't move, and this project is no different. I used my Zig 2 Way glue Pen to add a thin layer of adhesive to several styrofoam eggs. To make this job less messy, I inserted a toothpick into the egg so I hold the toothpick and keep my fingers clean. Once the eggs were covered in adhesive, I coated each in a different color of glitter. I then stuck the toothpicks into a piece of foam and let the adhesive dry.

Going back to the bucket, I filled it with Easter grass.

I then painted a wooden dowel rod with my Green Zig Painty FX pen. Once the paint was dry, I inserted the dowel rod into the tin.

Next up, I carefully removed the eggs from the toothpicks and placed them in the tin around the dowel rod.

Using a die-cutting machine, I cute out two identical shapes from cardstock, stamped the sentiment using a Black Zig Writer, then added a line of glitter glue around the edges.

Once the glitter glue was dry, I used my Zig 2 Way Glue pen again to adhere the two die-cuts together, but leaving a small piece on the bottom open so that it can be attached to the dowel rod.

Lastly, I simply adhered the die-cut piece to the dowel rod, and then added a small flower for accent.

A wonderfully cute piece. And easy enough that even the kids couple help :)


No comments:
Post a Comment